Pointed Pen Calligraphy for the Beginner: Modern Script Calligraphy & Copperplate
Would you love to learn how to do modern calligraphy with a pointed pen and/or more traditional pointed pen calligraphy styles like Copperplate? This post will get you started with tips on supplies, books, and more.
Pointed pen calligraphy lends itself to so many projects – letters, notes, wall art, envelope art, tags, invitations, card making, and more. It makes beautiful grocery lists too! (Seriously, that’s a great way to practice.) These days, modern calligraphy has made the process so much fun.
What is Pointed Pen Calligraphy?
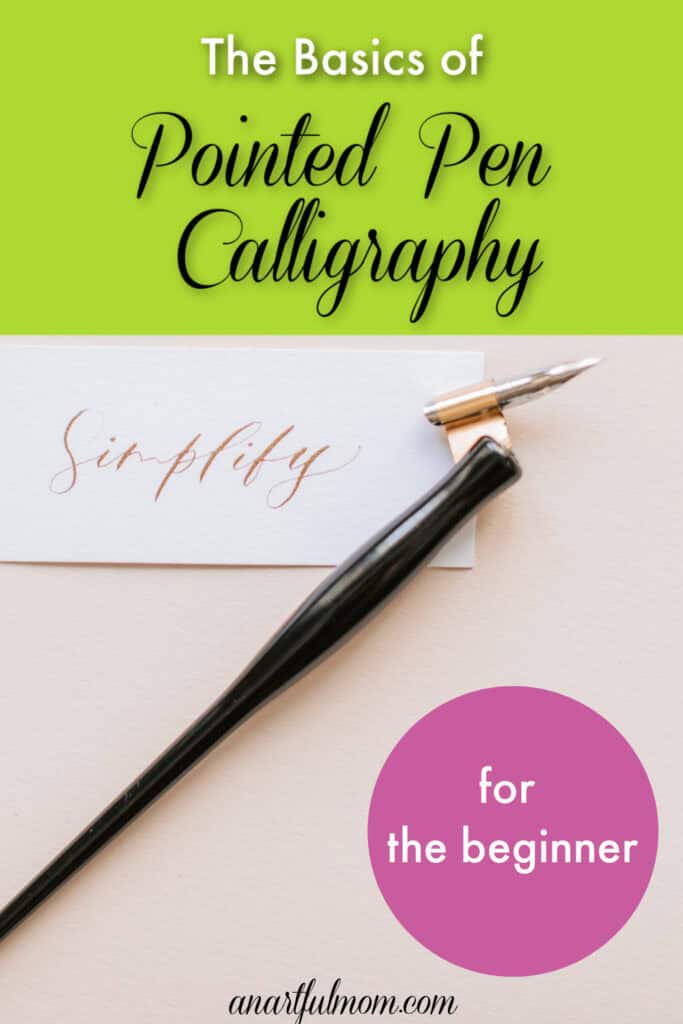
With pointed pen calligraphy, a pointed nib is used (unlike nibs used for broad edge styles like italic.) The pointed nib allows for curvy script lettering.
Modern calligraphy, which is a pointed pen calligraphy, has opened up a whole new world, in that it allows for more freedom, less structure, and fewer rules than traditional pointed pen calligraphy, like copperplate. Copperplate is still one of my favorite pointed pen styles too, though!
*This post contains affiliate links, which means I will earn a small commission if you purchase through them, at no extra cost to you. Thank you!

How Does a Pointed Nib Work?
Basically, when you apply pressure on a pointed nib, the two tines of the nib spread apart, allowing more ink to flow. When the pressure is released, the tines snap together, and less ink flows. So, the amount of pressure you apply will determine how thin or thick the strokes will be. Light pressure on the upstrokes, more pressure on the downstrokes. (If you have ever done brush lettering with brush markers, you will have had some experience with that concept.)
Supplies for Modern Calligraphy and Copperplate:
The supplies are the same for modern pointed pen calligraphy as for more formal styles like Copperplate.
All you need to begin is a dip pen (also called a pen holder or nib holder), some nibs (pointed style), ink, and paper. (The nibs are purchased separately from the pen.) See my resources, below.
- Dip Pens: You will see both straight and “oblique” pen holders. (The pen that holds the nib.)
The straight wooden holders with cork barrels are very comfortable. Not all holders hold all nibs, but this one holds most nibs. Straight holders are a bit easier to use, especially for beginners and left handers. If you want to write the tradtional styles with a heavy slant like Copperplate, though, it will be more difficult to get a heavy slant with a straight holder.

I started with an oblique holder, which can be slightly more intimidating. I love the slant I can get with it, though. Personal preference plays a part here. If you are starting out with a traditional pointed pen style, like Copperplate, you might want an oblique holder, but if you will only be doing the less formal modern calligraphy, a straight holder will be fine.

- Nibs for dip pens: The Nikko G nib is widely recommended for beginners, and it will also fit many standard pen holders. The Zebra G nib is another one that is recommended for beginners. (Full disclosure, here – I honestly don’t remember which nib I started with, as it’s been several years! But, the 2 nibs above are typically the most commonly recommended ones for beginners.) As you progress, you may want to try a more flexible nib. I really like the Leondardt Extra Fine Principal nib, because of its flexibility. But, at first, the firmer nibs are a bit easier to use.
Note! The dip pen nibs will have a protective oil coating on them when new. The coating needs to be removed for the ink to perform well in the nib. To remove the coating, I use some toothpaste (paste, NOT gel) and gently rub the paste on the nib with a soft toothbrush, then rinse and dry gently. I have heard that wiping on some nail polish remover or setting the nib in a little window cleaner will also work, but I haven’t tried those yet! You can even stick the nib in a potato for about 15 minutes, but I haven’t tried that yet, either! (Be careful when you stick the nib into the potato, as I’ve heard that the more delicate, flexible nibs could be damaged if you are too rough.)
- Ink for Dip Pens: There are a lot of inks that work in dip pens, and it’s fun to explore. (Note that these inks will NOT work in fountain pens. For fountain pens, always use inks specifically made for fountain pens.) Dr. PhMartin’s Bombay India ink in Black is a good one to start with for your dip pen, as is Speedball Super Black India Ink. Dr. Ph Martin’s Bleedproof White is great for dark papers. It is very thick and needs to be diluted before using, though.
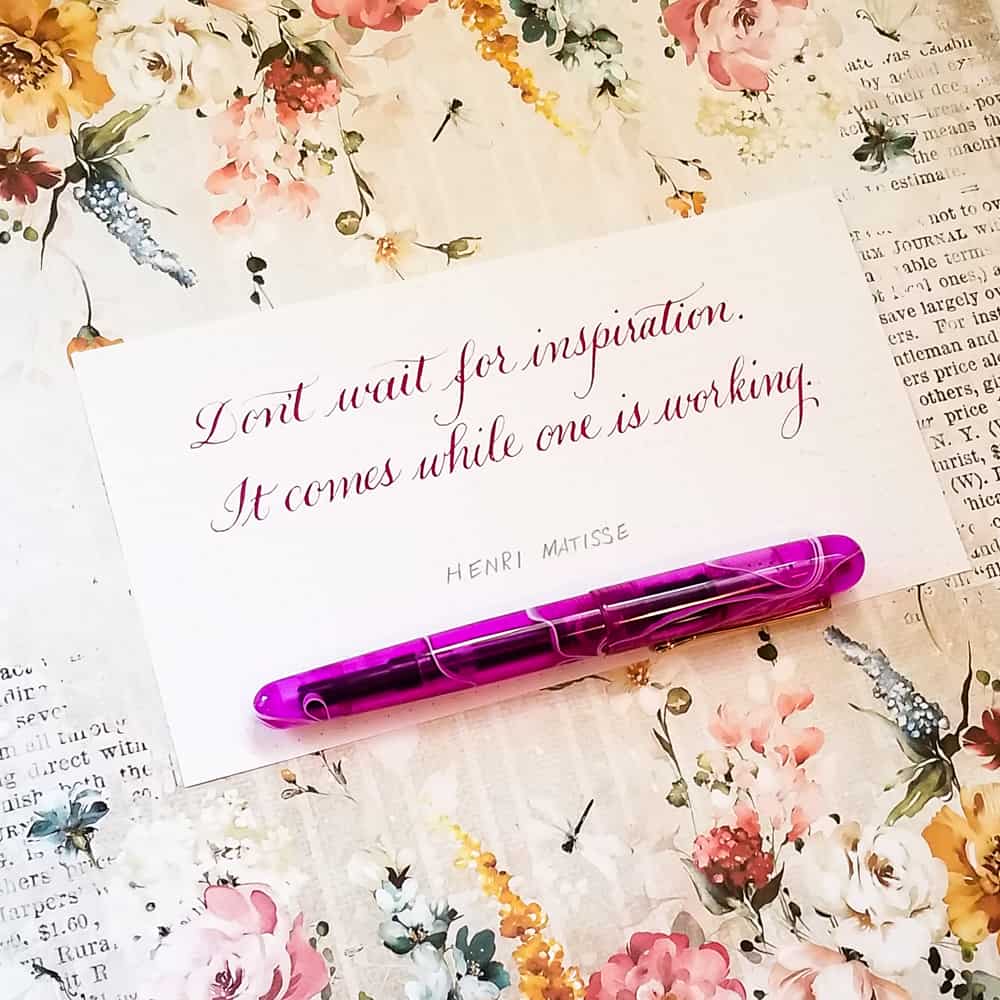
Fountain Pens: Recently, I’ve discovered the fun of doing modern calligraphy with flex fountain pens, so I now often use my fountain pens with flexible nibs for modern calligraphy. These aren’t for calligraphy purists, and I wouldn’t recommend using a fountain pen for a very formal calligraphy commission, but if you choose a fountain pen with an extremely flexible nib, you can produce some lovely calligraphy.
A fountain pen I use often for modern script calligraphy and copperplate is the BlueDew flex fountain pen. The nib on this one is excellent for pointed pen calligraphy, as the nib is very much like a dip pen nib. The upstrokes with this pen are very fine, and to me it feels just like writing with a straight dip pen. (If you get this one, be sure to rinse the nib well, as I didn’t do that and couldn’t figure out why it was railroading so much at first.) The BlueDew is less smooth than a typical fountain pen because the nib isn’t tipped, but that is typical of dip pen nibs, too. (Note: It’s much pricier than a dip pen, and it can’t be returned. So, I would only buy this one if you are sure you will enjoy pointed pen calligraphy.) I love mine.
- Paper: A lot of papers are too rough for calligraphy, and the nib will catch. For practice, I use HP Premium 32. This paper is heavier and much more smooth than regular printer paper. The Rhodia pads are also great for practice. They have a very smooth, satiny finish, and most inks won’t bleed on it. Strathmore Bristol Smooth paper is nice for artwork. It’s very smooth and white. Some heavy drawing papers work well, too.
- Light Box: A light box isn’t necessary for learning or practicing calligraphy, but if you are serious about calligraphy, you might find it very helpful. I wrote a post about lightboxes here.
- Laser Level: Another really useful, optional tool is a laser level. The laser level shoots out a straight line of light across your paper, making it easy to get an even line of calligraphy, without having to draw lines.
Books for Modern Calligraphy and Copperplate
I have the books below and love them. They each give good info about supplies and how to get started.
I learned traditional copperplate first, and then I learned to modify and loosen up to a more modern calligraphy style. It’s nice to know both.
But, if you want to start out only with a more free-form, modern look, then you may want to start with the first book.
- If you want to start with a non-traditional, free-from modern approach and skip the traditional method, Mastering Modern Calligraphy by Molly Suber Thorpe is a good book for you. This book shows many different variations of each letter and is a great book for those who are interested in starting with modern script calligraphy. It’s equally useful for those who are already proficient at modern calligraphy, as it has so many beautiful letter variations.

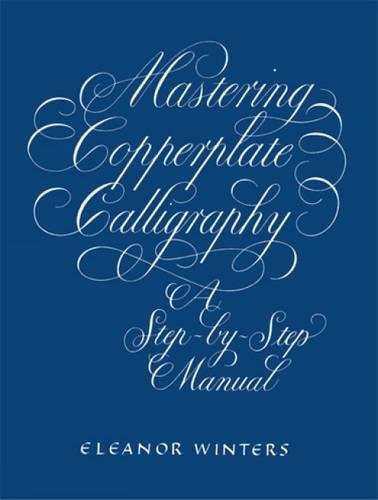
- If you would like to learn the more formal copperplate style first, either of the following 2 books would be great choices: Mastering Copperplate Calligraphy (an old classic) by Eleanor Winters or the shorter, Copperplate Calligraphy from A to Z (my favorite) by Sarah Richardson. Learning the strokes of copperplate, a traditional pointed pen calligraphy style, was the perfect foundation for branching off into modern calligraphy because copperplate is the basis for modern forms of pointed pen and brush calligraphy. I learned this traditional method first, and I then took what I learned and loosened up the style to a more modern, freeform look.

I hope you’ll try pointed pen calligraphy. It’s a beautiful way to add fun and elegance to your art projects and correspondence.
Please don’t worry if you don’t have good handwriting. Calligraphy is done one stroke at a time.
This post was originally published in 2014 and updated in 2023.
Linking to:
Create with Joy, Try It Like It, Artsy Fartsy Mama, The Answer is Chocolate, Good Random Fun, Eye Love Knots, Dare to Share Saturday, Life and Linda, Sew Can Do, Sum of Their Stories, Mostly Blogging, Meraki Link Party at Doodlebuddies, My Wee Abode, Linda’s Lunacy, Shabby Art Boutique, Happiness is Homemade, Thursday Favorite Things, Keeping it Real, A Pinch of Joy, My Random Musings, LouLou Girls, Wonderful Wednesday, Senior Salon Pit Stop


Aw..such a cute last photo.
I am intimidated by calligraphy but I like what you said about trying and not giving up.
Thanks Tamara–Sunny is a cute model. Yes, calligraphy can feel daunting at first, but with practice it clicks.
Beautiul name examples.
Keeping warm by cappuccinos, lol.
Thanks so much Dawn. A cappuccino sounds good about now. We are having a brutal winter here, and I've been spoiled from the last few mild ones.
I did lots of calligraphy as a teen but haven´t that much since actually, kind of forgot about it. I may have to try again. 🙂
Yes, please do, Tinajo! It's fun.
Calligraphy is so beautiful! I tried it a bit as a teenager, but never really got back into it.
Thanks so much for stopping by to visit my blog from the SITS girls today!!
~Holly
http://desertmomma.blogspot.com
It's so relaxing Holly. You might want to try it again.
This looks really great! I took Calligraphy as my art credit in college and I really enjoyed it – especially the relaxing, controlled breathing that went a long with it. I especially loved painting watercolors on my dip pen and letting the colors gradually change!
Thank you! The watercolor technique sounds wonderful–I haven't done that yet.
Not sure if my comment went thru. Your yorkie is precious! #SITSgirls
Thank you Holly! She is such a sweetheart.
Admire your calligraphy skills. Thanks for sharing some of the how tos.
Thanks so much, Sarah! I'm hoping to post more about it in the future.
Pam, Thank you for all the tips and tricks of calligraphy. We are hosting Meraki Link Party weekly from Monday thru till Thursday at https://doodlebuddies.net/2020/09/14/meraki-link-party-5/
We'd love for you to share your posts with us.
Naush
Thanks, Naush, I will do that!!
Thank you Pam, for linking with us. Such fabulous calligraphy. Love it.
Naush
I enjoyed calligraphy as a teen, and still have a deep appreciation for it. Thanks so much for sharing with Creative Compulsions! Also – your snuggle buddy is adorable!
Michelle
https://mybijoulifeonline.com
Thanks Michelle! She makes every activity better.
Such a beautiful art form, I have always thought about doing it. For now I will settle for featuring your post in the next Blogger's Pit Stop.
Kathleen
Thank you so much, Kathleen! You made my day!
Great advice. I've dabbled with some brush pen calligraphy but the 'proper' pen has scared me a little. You make it sound do-able!
Thank you! Oh, no need to be scared by the pen! It's a little scary looking, but not really difficult to use, so definitely give it a try!
If only once my handwriting did not look like a spider crawled through some ink! I pinned this to visit again x thank you.
Haha, thanks for pinning!
The copper color is beautiful!
Thanks, Alexandra. I love pretty ink to an almost ridiculous degree!
Pam, why oh why was I drawn to *this* post?! I can’t possibly take up another new thing to learn right now, and this easier modern calligraphy is tempting me!
Jean, I understand completely! haha The tempting is real – give it a try!